Deploying Kubernetes Dashboard
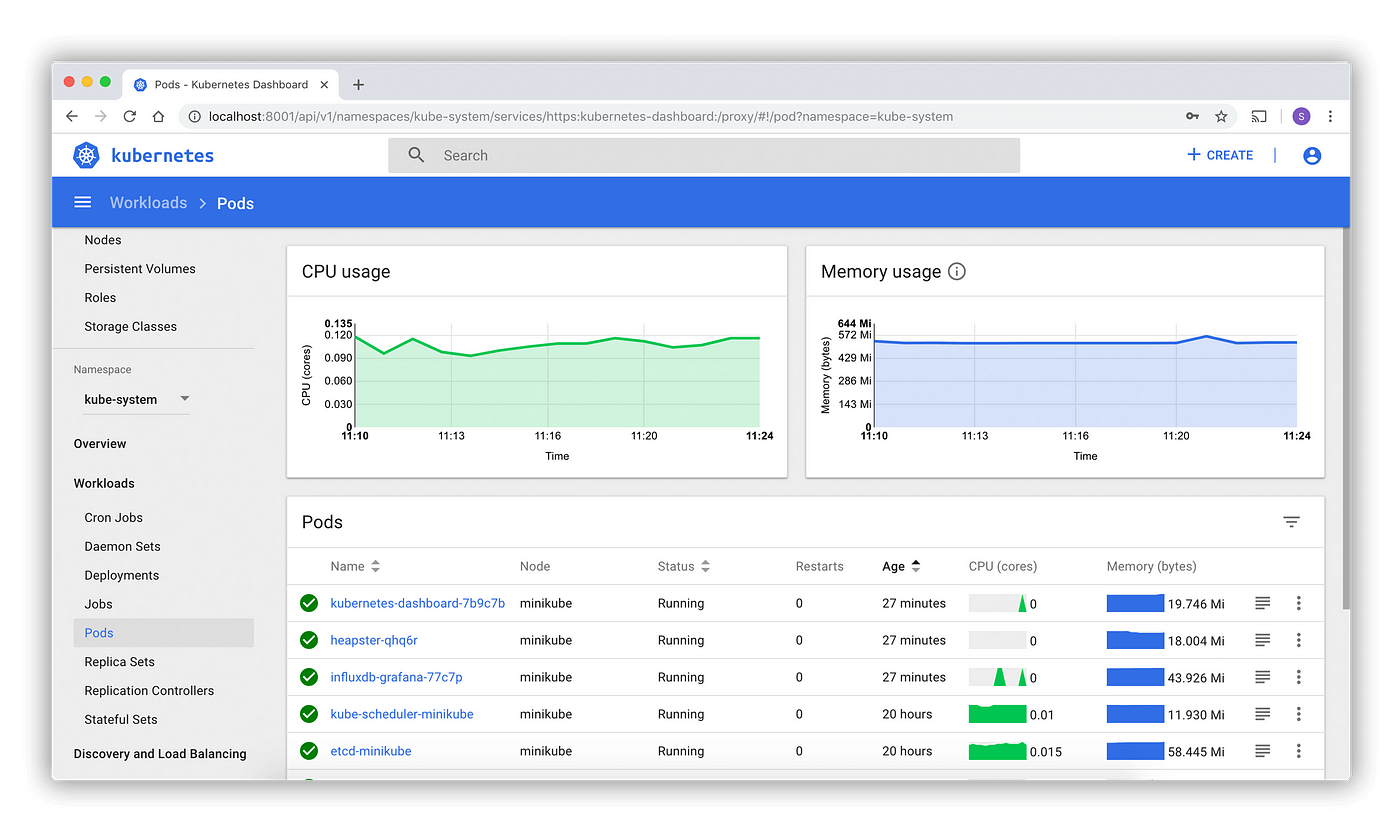
If you’re deploying hundreds of containers within Kubernetes, how do you keep an eye on them all? A command-line interface won’t work. You need a visual representation of everything. Introducing Kubernetes dashboard.
Kubernetes Dashboard is the official web-based UI for Kubernetes user interface, consisting of a group of resources to simplify cluster management.
In this tutorial, you will learn how to install and set up the Kubernetes Dashboard step by step on a Ubuntu machine.
Kubectl:
To install Kubernetes Dashboard, you’ll need the kubectl. To install that, Click here
Install Kubernetes Dashboard using Kubectl
We assume that you already have a Kubernetes cluster up and running and have installed kubectl.
If you have any query regarding setting up cluster, Click here.
Deploy the Kubernetes dashboard using Kubectl:
kubectl create -f https://raw.githubusercontent.com/kubernetes/dashboard/master/aio/deploy/recommended/kubernetes-dashboard.yamlRunning the Kubectl command creates both the Kubernetes dashboard service and deployment. It also creates a default service account, role, role binding and secret for the dashboard:
But ,by default, the dashboard will not be visible to master node. So, to make it visible you’ll have to run the below command:
kubectl proxyWhat we did is , we spun up a proxy server between our local machine and the Kubernetes apiserver. so that we can access dashboard using kubectl